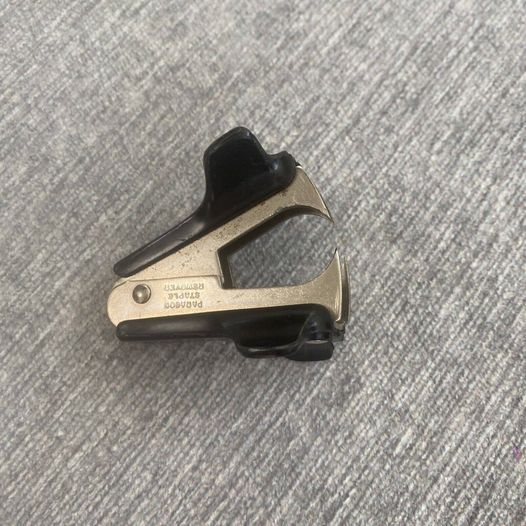
Let us discuss the unsung hero of the office: the old-fashioned stapler remover. Staple removal was comparable to medieval torture before this handy equipment graced our desks: it was unpleasant, tedious, and frequently resulted in a ruined document. The stapler remover was created in the early 1900s by a person who was obviously frustrated with staple accidents, and it completely changed the way we pulled paper. These early models, which were frequently constructed of metal, were both practical and masterworks of craftsmanship.

How to Use a Stapler Remover
Stapler removers are essentially used to remove staples from documents without creating any mess. Imagine two sets of curving metal jaws that, when applied pressure, grasp the staple and pull it straight out of the paper. It’s quick and accurate, much like an uppercut in boxing. However, this little device is not a one-trick pony; it has repeatedly shown its value by finding its way into a variety of industries.
Have you used it for anything other removing staples? It has been adapted by some inventive brains to open keyrings or even as a temporary crab cracker. How adaptable!
The Stapler Remover’s Legacy
Beyond just being a useful tool, the stapler remover is a monument to the inventiveness of bygone eras. Not only are these small gems useful, but their retro style also attracts collectors and fans of antique office supplies. These removers, which are made sturdy and occasionally have beautiful accents, reflect the attention to detail of a bygone era.
In the present day, stapler removers remain in use even with the digitization of documentation. They remain a favorite in homes and offices due to their classic style and hassle-free staple extraction process. Furthermore, looking at an old-fashioned stapler remover is like taking a sentimental walk down memory lane; it reminds us of the history of workplace technology and the never-ending pursuit of simplifying daily duties.
In summary
Although the antique stapler remover may appear to be a minor component in the larger office tool system, it has an intriguing history. It was invented in the early 20th century and made the difficult operation of removing staples seem easy. Furthermore, despite the fact that enthusiasts now collect it, its functionality and design are still relevant today. Let’s give a nod to this timeless, skillfully designed instrument that reminds us that often the simplest solution is the most elegant one, even while we delve headfirst into new technological marvels.
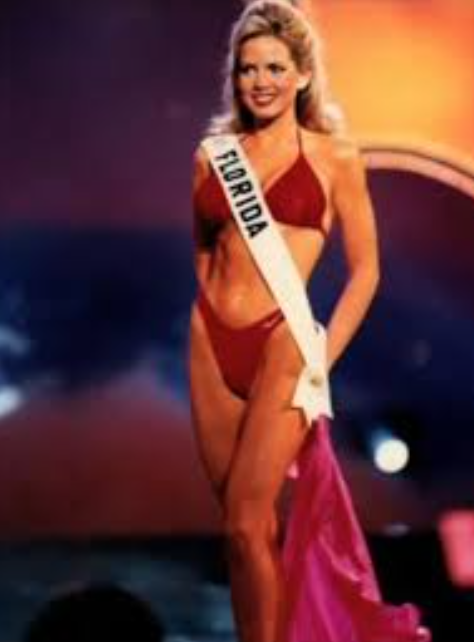
News Anchor Shannon Bream was a pageant beauty queen. She won two titles in the 90s
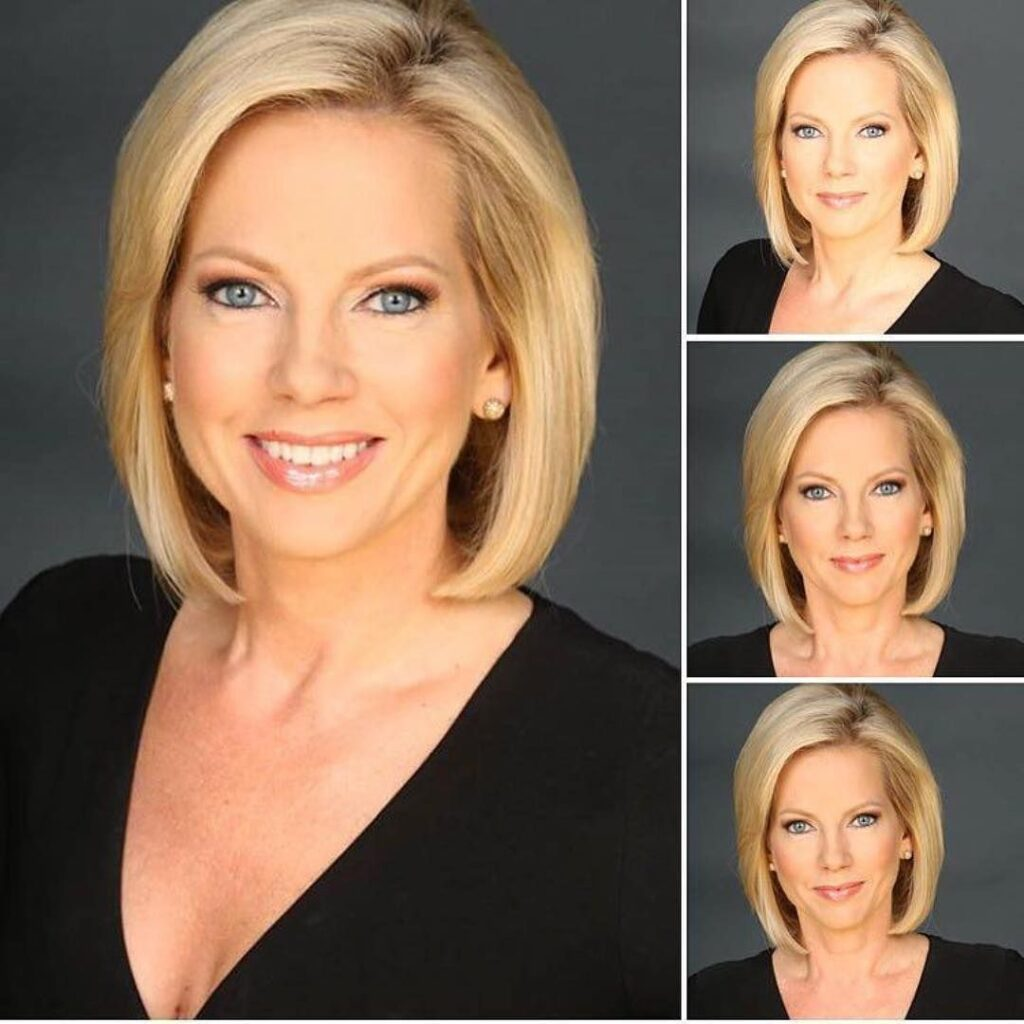
Renowned American news anchor, attorney, and journalist known for her work with Fox News Channel. She was born on December 23, 1970, in Sanford, Florida, and grew up in a pious Christian home where she was indoctrinated with a strong sense of faith and civic duty.
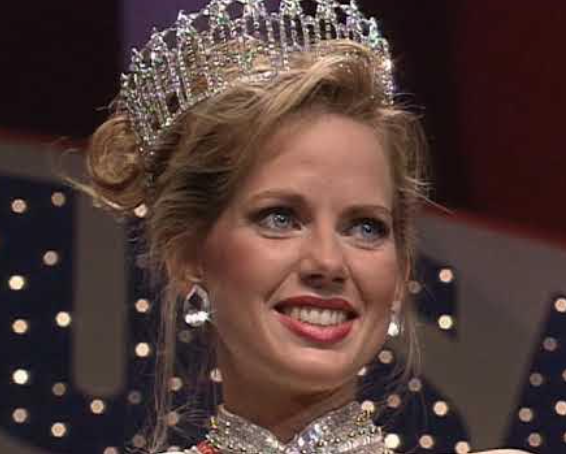
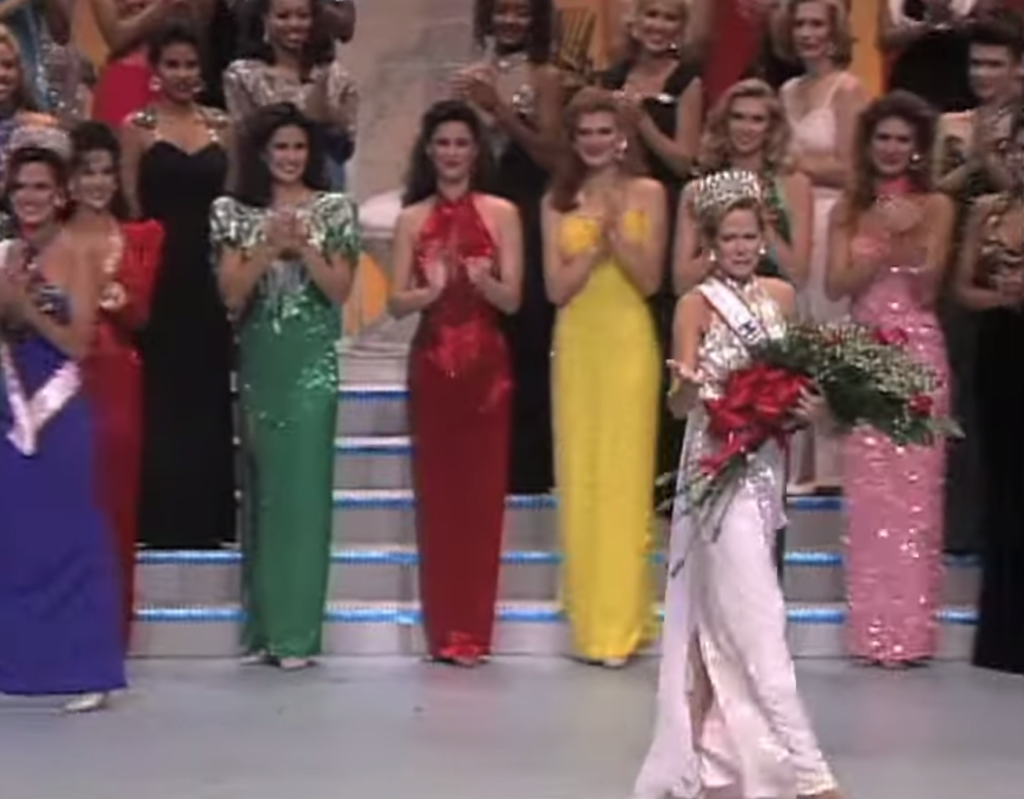
She graduated from Liberty University with a degree in business administration. She is from Lynchburg, Virginia. Her triumph in the Miss America pageant, when she became the first Virginian woman to win the title, marked the beginning of her path to national prominence. Her accomplishment demonstrated her knowledge, grace, and commitment to her agenda of “empowering women through education and leadership,” and it represented a major turning point in her career.
https://googleads.g.doubleclick.net/pagead/ads?client=ca-pub-3764810839868565&output=html&h=183&slotname=2267562348&adk=3804319337&adf=1174012415&pi=t.ma~as.2267562348&w=730&abgtt=6&fwrn=4&lmt=1726163271&rafmt=11&format=730×183&url=https%3A%2F%2Favokaddo.com%2F2024%2F08%2F08%2Fnews-anchor-shannon-bream-was-a-pageant-beauty-queen-she-won-two-titles-in-the-90s%2F%3Ffbclid%3DIwY2xjawFQAh1leHRuA2FlbQIxMAABHbJY0DD6d7PQ6nyJzLwC846MmEyDK5eflyApThha8dn4ymE7cV9bPHRRkA_aem_9Xml0HrDZvZzdJHtSdTuTA&wgl=1&uach=WyJXaW5kb3dzIiwiMC4zLjAiLCJ4ODYiLCIiLCIxMDkuMC41NDE0LjE2OCIsbnVsbCwwLG51bGwsIjY0IixbWyJOb3RfQSBCcmFuZCIsIjk5LjAuMC4wIl0sWyJHb29nbGUgQ2hyb21lIiwiMTA5LjAuNTQxNC4xNjgiXSxbIkNocm9taXVtIiwiMTA5LjAuNTQxNC4xNjgiXV0sMF0.&dt=1726163270617&bpp=1&bdt=274&idt=131&shv=r20240905&mjsv=m202409050101&ptt=9&saldr=aa&abxe=1&cookie=ID%3Dd6f422181fa8e320%3AT%3D1712754368%3ART%3D1726163271%3AS%3DALNI_MbQ8K8Uz_tQiOWk9_ho73iGWbUvXg&gpic=UID%3D00000de663175333%3AT%3D1712754368%3ART%3D1726163271%3AS%3DALNI_MZzkvLBsYSBf99BTmrLqXAWredf6A&eo_id_str=ID%3D880422cb866d8cdc%3AT%3D1712754368%3ART%3D1726163271%3AS%3DAA-AfjYIkHBaiiV25sK_LhuhTK3y&prev_fmts=0x0%2C1100x280%2C730x183&nras=1&correlator=4392155166249&frm=20&pv=1&rplot=4&u_tz=420&u_his=1&u_h=768&u_w=1360&u_ah=728&u_aw=1360&u_cd=24&u_sd=0.75&dmc=8&adx=164&ady=3040&biw=1428&bih=780&scr_x=0&scr_y=0&eid=44759876%2C44759927%2C44759837%2C95338227%2C95341664%2C95342457%2C95341671&oid=2&pvsid=1197025293475940&tmod=144301510&uas=0&nvt=3&ref=https%3A%2F%2Fl.facebook.com%2F&fc=1920&brdim=175%2C14%2C175%2C14%2C1360%2C0%2C1104%2C705%2C1450%2C780&vis=1&rsz=%7C%7CopeEbr%7C&abl=CS&pfx=0&fu=128&bc=31&bz=0.76&psd=W251bGwsbnVsbCxudWxsLDNd&ifi=4&uci=a!4&btvi=2&fsb=1&dtd=422

After her success in pageants, she went on to pursue a career in journalism, first working for NBC News and then Fox News, where she is currently the host of “Fox News @ Night.” Her experience is a potent example of the value of leadership, knowledge, and tenacity. She is an inspiration to many young ladies, showing that goals can come true with perseverance and hard work.
She is a well-known figure in the pageant industry as well as the journalistic sector because of her journalism career and her prior pageant successes, which continue to inspire people.


Leave a Reply