Sewing has been an essential craft for centuries, yet many of the most effective techniques remain hidden from the modern world. Whether you’re a beginner or an expert seamstress, knowing a few ancient sewing secrets can make your work easier, neater, and more durable. Let’s uncover these time-tested tricks that can change the way you sew forever.
The Lost Art of Traditional Sewing Techniques
Sewing is more than just stitching fabric together—it’s an art form that requires precision and patience. Over generations, tailors and seamstresses have developed techniques to make their work more efficient. Unfortunately, many of these methods have been forgotten in the age of fast fashion. Here are some of the best-kept sewing secrets that will enhance your craftsmanship.
1. Strengthen Your Thread with Beeswax
Have you ever had your thread tangle or break while sewing? That’s because raw thread lacks the strength and smoothness needed for seamless stitching. This is where beeswax comes in—a natural way to fortify your thread.
How to Use Beeswax on Thread:
✔ Take a small piece of beeswax (available at craft stores or from natural sources).
✔ Run your thread through the wax, coating it lightly.
✔ Use a warm iron or your fingers to set the wax into the thread, ensuring smoothness.
By waxing your thread, you prevent knots, reduce fraying, and make hand-stitching smoother. This method has been used by tailors for centuries, and it’s still one of the best ways to extend the life of your stitches.
2. Mark Fabrics with Dry Soap for Easy Removal
Fabric markers and chalk can sometimes leave stains or require special erasers, but there’s an easier solution—dry soap. If you’ve never tried this trick before, you’re missing out on one of the simplest, most effective ways to mark fabric.
Why Use Dry Soap Instead of Chalk?
✔ It glides smoothly on fabric, leaving a visible mark.
✔ It washes away completely without leaving a trace.
✔ It’s eco-friendly and doesn’t create dust like chalk.
Simply take an old, dry bar of white soap, sharpen the edges (like a piece of chalk), and use it to mark where you need to cut or stitch. Once your sewing is complete, the soap will dissolve when the fabric is washed—no mess, no stains!
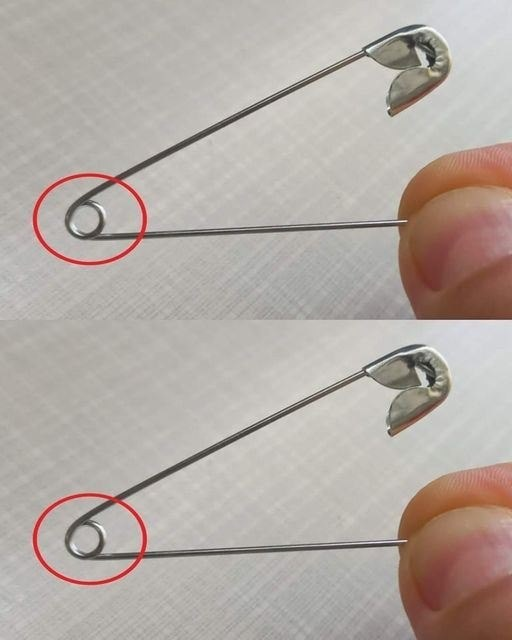
3. The Magic of the Loop Knot Technique
Sick of knots coming undone while sewing? Instead of the usual single or double knots, try the loop knot technique to secure your stitches firmly.
How to Tie a Loop Knot for Sewing:
- Thread your needle and pull the thread through.
- Create a small loop at the end of the thread.
- Pass the needle through the loop and pull tight.
This method keeps your stitches secure without causing bulk or weakening the fabric, making it perfect for delicate materials.
4. Use a Safety Pin to Thread Elastic or Drawstrings
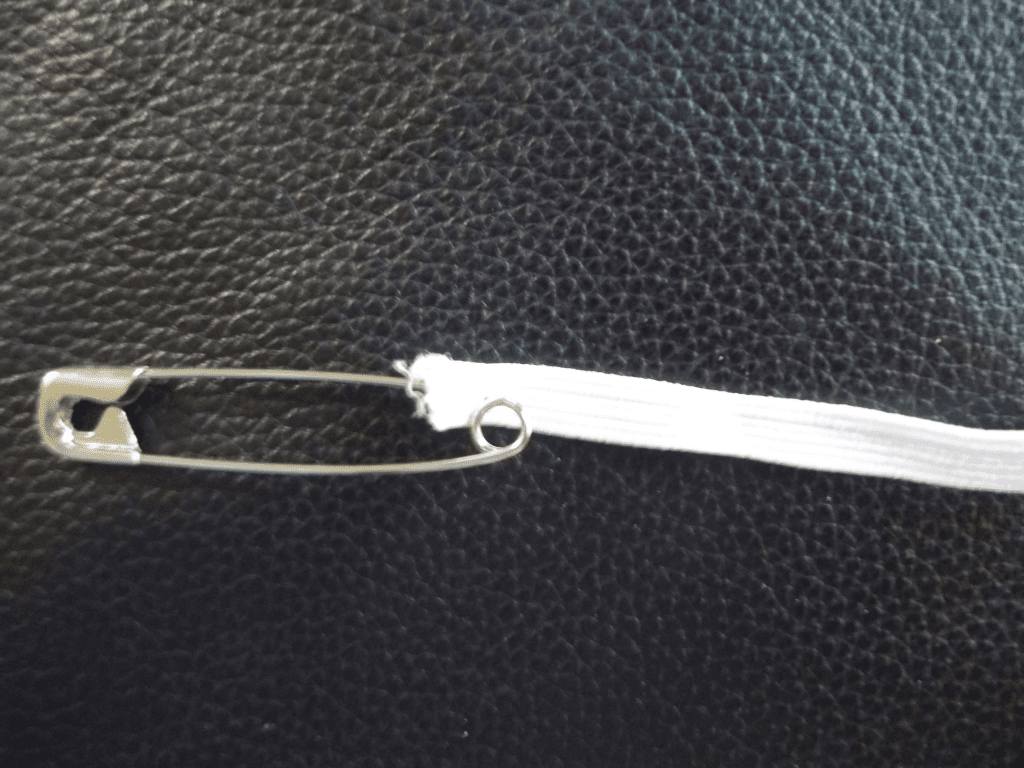
Have you ever struggled to thread elastic through a waistband or a drawstring through a hoodie? Instead of fumbling with your fingers, use a safety pin—a simple yet powerful sewing hack.
How to Thread Elastic with a Safety Pin:
✔ Attach a safety pin to one end of the elastic or string.
✔ Insert the pin into the casing and push it through, guiding it with your fingers.
✔ Once it reaches the other end, pull it out and adjust the elastic.
This old-school trick saves time and frustration, making sewing tasks more manageable.
5. Prevent Frayed Edges with a Simple Hand-Sewn Finish
Fabric edges often fray, leading to unraveling seams and a messy appearance. While overlock machines (sergers) can prevent fraying, they aren’t always accessible. The whipstitch method is a great alternative for hand-sewers.
How to Do a Whipstitch for Fray Prevention:
✔ Thread a needle with strong thread.
✔ Loop the thread around the fabric edge, sewing closely together.
✔ Ensure even spacing for a clean, durable finish.
This technique has been used for centuries, especially in historical garment-making, and remains one of the best ways to keep fabric edges neat and long-lasting.
6. The Basting Stitch: Your Secret to Perfect Seams

Many beginners skip basting stitches because they see them as unnecessary, but professionals know they are a game-changer.
What is a Basting Stitch?
A long, temporary stitch that holds fabric layers together before final sewing. It helps ensure alignment and precision before committing to permanent stitching.
✔ Use long, loose stitches with a contrasting thread.
✔ Check the fit or design before securing the final seam.
✔ Once satisfied, sew the permanent stitches and remove the basting thread.
This method prevents mistakes and gives a more polished, professional finish to your sewing projects.
Bringing Back Time-Tested Sewing Techniques
Sewing may seem simple, but these ancient techniques show that a little extra effort can make a big difference. Whether you’re working on a new garment, a repair, or a creative project, these tricks will elevate your skills and make your work more durable and precise.
So, why not give these methods a try? By incorporating beeswax for thread strength, dry soap for marking, loop knots for security, safety pins for threading, whipstitching for fray control, and basting for precision, you’ll be stitching like a pro in no time.
Conclusion: A Stitch in Time Saves Nine
The beauty of sewing lies in mastering the little tricks that make each stitch stronger and each project more seamless. These ancient sewing secrets have stood the test of time for a reason—they work. So next time you pick up a needle and thread, remember that the simplest solutions are often the most effective.
Ready to take your sewing skills to the next level? Try these techniques, and see the difference for yourself!
How the Stars of Mean Girls Have Changed 19 Years After Its Release
Nineteen years have passed since the iconic teen comedy Mean Girls first graced the silver screen, leaving an indelible mark on popular culture. As the classic film celebrates nearly two decades since its release, the spotlight shifts to the stars who brought the plastics to life. Join us on a nostalgic exploration of how the stars have navigated their careers, personal lives, and the ever-changing landscape of fame.
1. Jonathan Bennett (Aaron Samuels)
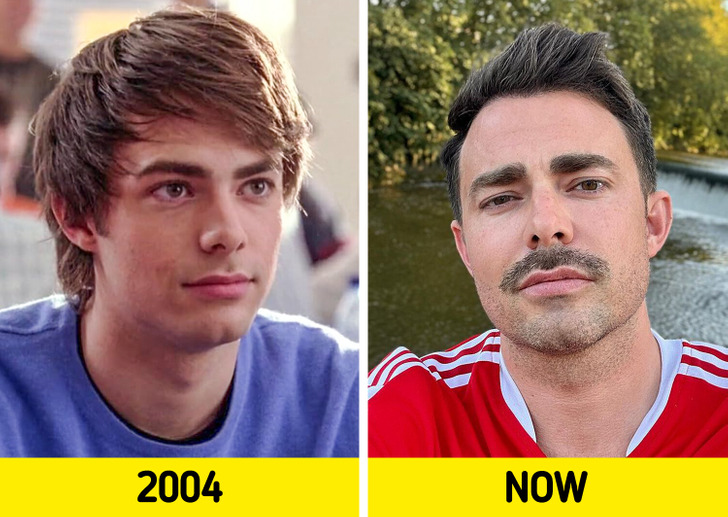
Following his role in Mean Girls, Jonathan Bennett extended his acting career with notable appearances, starring in Cheaper By the Dozen 2 and later gracing the screens in several TV movies, particularly those in the holiday genre on Hallmark and Lifetime channels. Bennett’s popularity transcended film and found a pop culture niche when he made a memorable appearance in Ariana Grande’s Thank U, Next music video.
Beyond his on-screen endeavors, Bennett made a significant personal revelation as he came out, adding another layer to his public identity. The actor also celebrated a joyous milestone in 2022 by tying the knot.
2. Lindsay Lohan (Cady Heron)
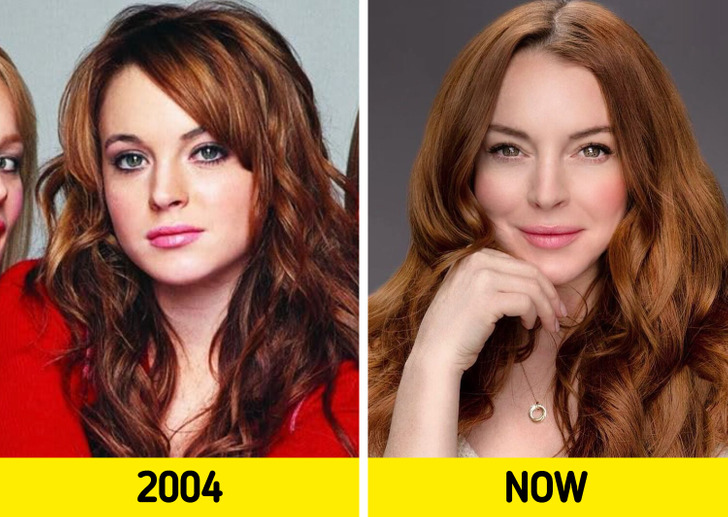
Lindsay Lohan, already an established child actor with credits like The Parent Trap and Freaky Friday, rose to prominence as Cady Heron in Mean Girls. Following her success, Lohan continued to showcase her talent in films such as Just My Luckand Herbie Fully Loaded. However, the pitfalls of early fame and the pressures of the public eye led her to troubles throughout adolescence and early adulthood.
Amid career challenges, Lohan took a hiatus from acting between 2015-2018. Her triumphant return came in 2022 with the Netflix holiday film Falling For Christmas. Notably, Lohan also reunited with her Mean Girls co-stars in a Black Friday commercial in 2023, marking a nostalgic moment for fans as some of the original cast reprised their roles from the iconic film.
3. Rachel McAdams (Regina George)
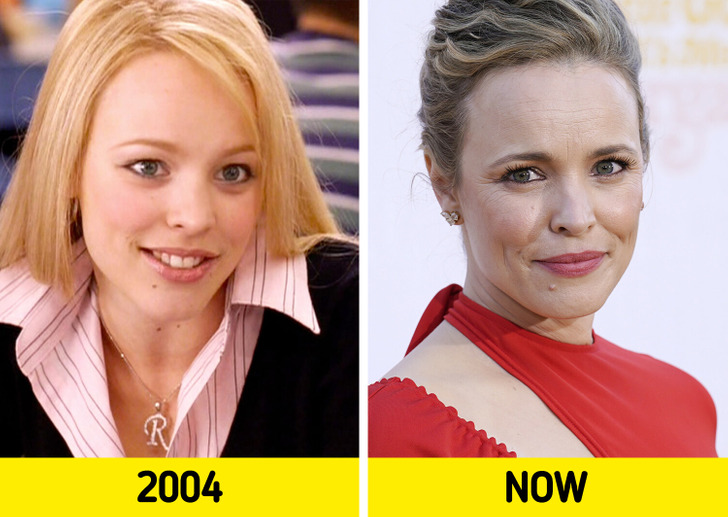
Rachel McAdams, reflecting on her pivotal role in Mean Girls, recalls the moment she eagerly embraced any part in the screenplay after reading it. In the nascent stages of her career, McAdams found the prospect of being part of the film to be a compelling aspiration. “I remember when I read it, I called my agent right away and said, ’I will play any part in this, please, please, please,’” she shared.
Following a series of auditions, McAdams secured the role of the main antagonist opposite Lindsay Lohan’s Cady, a performance that not only garnered critical acclaim but also served as a catalyst for her thriving career. From the iconic high school comedy, she seamlessly transitioned into a diverse array of films, earning an Oscar nomination for her role in Spotlight in 2016.
4. Tina Fey (Ms. Sharon Norbury)
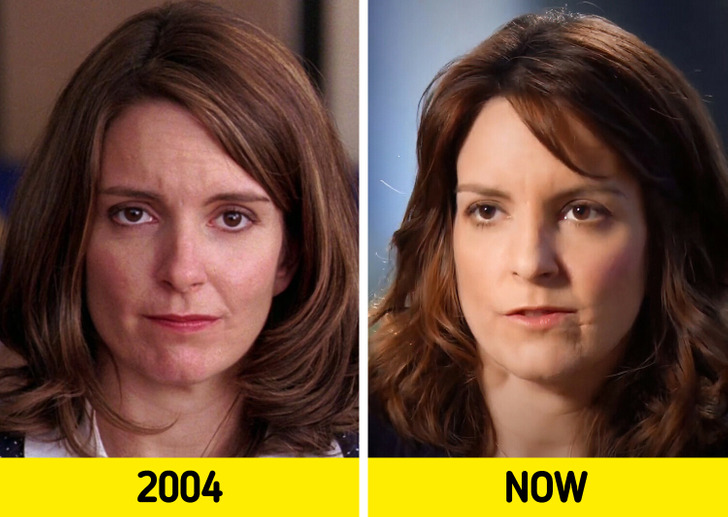
Tina Fey’s iconic screenplay for Mean Girls drew inspiration from Rosalind Wiseman’s bestselling self-help book, Queen Bees & Wannabes. Providing a humorous yet insightful glimpse into the complexities of high school dynamics. While the 2004 comedy resonated with audiences due to its relatable portrayal of teenage life, what made it truly unique were the personal touches Fey infused from her own experiences.
Fey’s ability to blend real-world insights with comedic brilliance elevated the film beyond the typical teen comedy. Beyond her iconic contribution to “Mean Girls,” Fey continues to leave her mark in the entertainment industry. In 2023, she has showcased her versatility by taking on roles in projects like A Haunting in Venice and the successful series Only Murders in the Building, demonstrating her enduring influence and creative range.
5. Lizzy Caplan (Janis Ian)
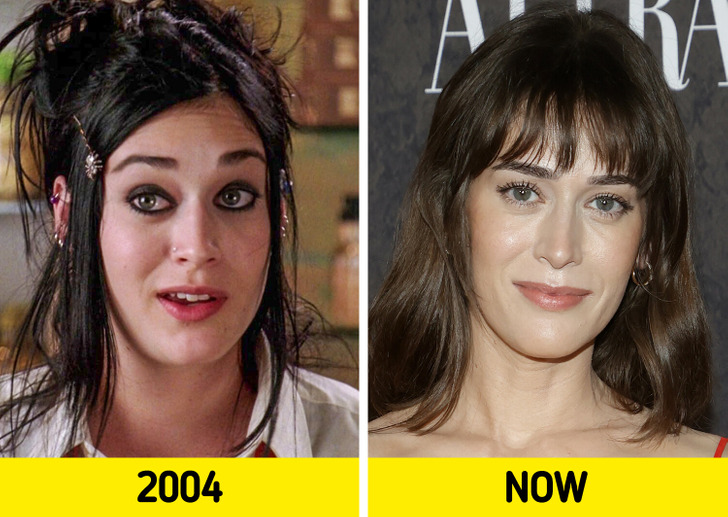
Lizzy Caplan, known for her portrayal of the goth girl Janis Ian in Mean Girls, faced a challenging hiatus in her career post the teen drama’s success. Recalling the tough period, she shared, “I remember after Mean Girls I didn’t work again for a long time. For like a year, I couldn’t get a job.”
Determined to break free from the constraints of her previous character, Caplan took matters into her own hands, opting for a bold transformation. “The next thing I did, I straight up dyed my hair blonde and got a spray tan,” she revealed. This strategic move proved effective, as shortly after her makeover, Caplan successfully booked a role. Beyond her on-screen ventures, the actress has continued to evolve, recently participating in a series titled Fatal Attraction and, in a more personal chapter, welcoming a son named Alfie with her husband Tom Riley in 2021.
6. Amanda Seyfried (Karen Smith)
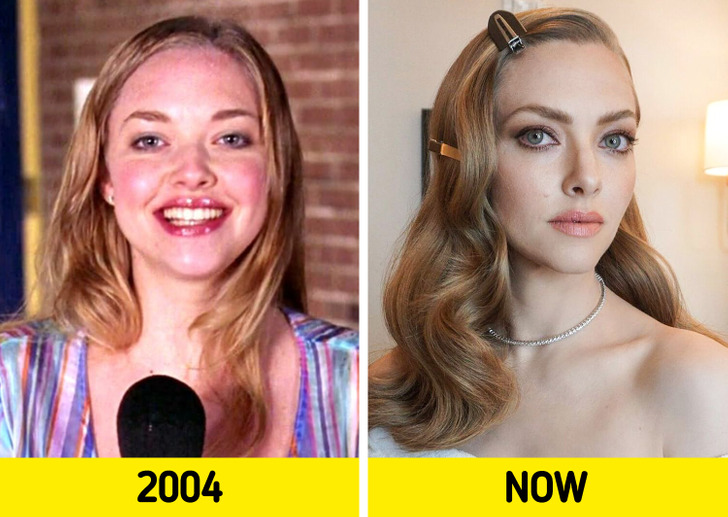
While acknowledging the pivotal role Mean Girls played in her ascent, Seyfried reflects on the challenge of avoiding typecasting and breaking free from the “pretty blonde” stereotype. In recounting her early career struggles, she revealed, “Mean Girls got me on the map. It really got my foot in the door, but getting pigeonholed was the thing you had to fight.”
Now the star has since navigated a diverse array of genres on the big screen, showcasing her versatility from the realms of the erotic thriller to wholesome musicals.
7. Lacey Chabert (Gretchen Wieners)
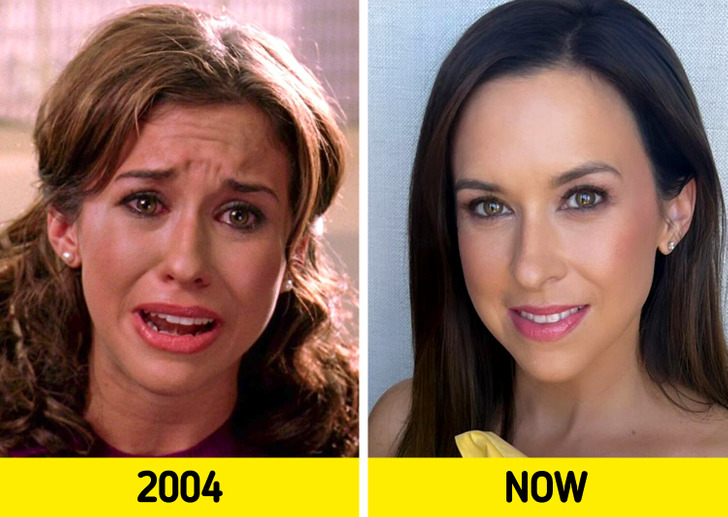
Lacey Chabert recently reunited with her co-stars, Lindsay Lohan and Amanda Seyfried, for a nostalgic ad. The reunion was a mini-sequel where the actors relieved their iconic characters. While Chabert continues to be celebrated for her contribution to the iconic teen comedy, she has transitioned into a different genre, becoming synonymous with Hallmark Christmas movies in recent years.
8. Rajiv Surendra (Kevin Gnapoor)
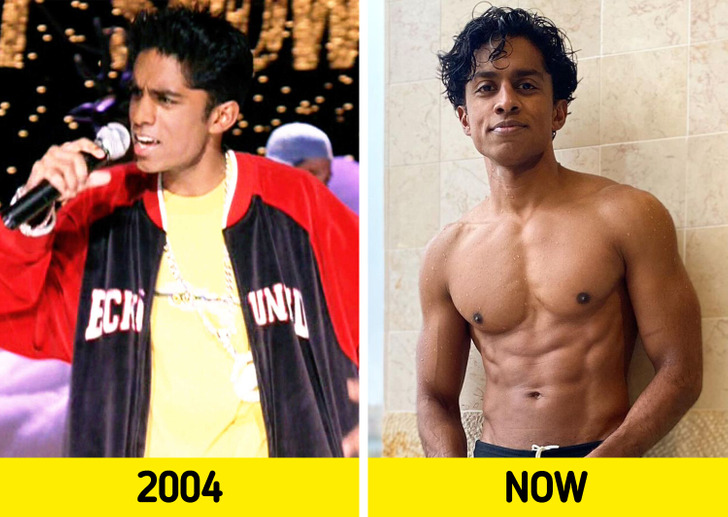
Rajiv Surendra, celebrated for his portrayal of Kevin Gnapoor in Mean Girls experienced an unexpected turn in his acting trajectory when his ambitious quest for the lead role in Ang Lee’s Life of Pi did not materialize, ultimately prompting his departure from Hollywood and acting.
Today, Rajiv has emerged as a multi-talented individual, showcasing his skills in DIY and styling through a thriving social media presence, particularly on YouTube. The actor continues to captivate audiences, occasionally sharing glimpses of his personal life, including a boyfriend reveal recently.
9. Daniel Franzese (Damian Leigh)
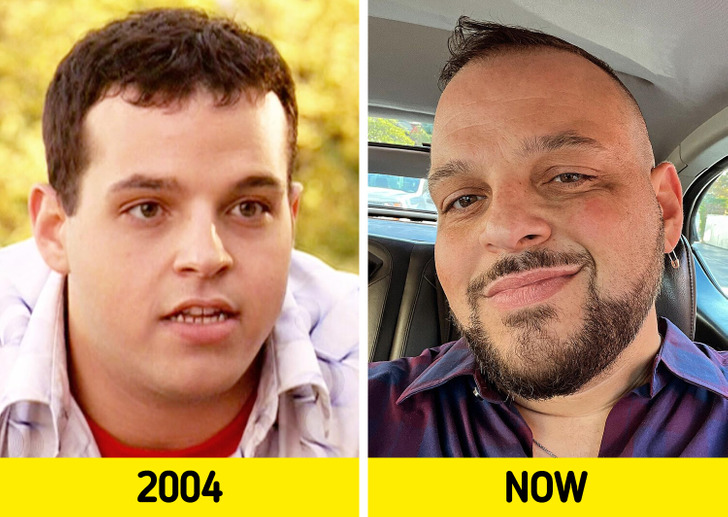
In 2014, around the 10th anniversary of the movie, Daniel Franzese, who brought the unforgettable character Damian to life, publicly came out. Franzese was privately navigating a profound internal struggle with his own identity while portraying the witty and beloved character. Franzese shared, “It wasn’t just about being ashamed of who I was — it was about losing family members. It was about losing my livelihood.”
Fast forward to the present, and Daniel has transitioned into stand-up comedy, embracing his true self. As he moves forward, Franzese’s portrayal of Damian endures as a beacon of inspiration for queer teens.
On more recent news, Lindsay Lohan is a first-time mom, and the internet is buzzing with excitement as she proudly embraces motherhood. In a bold and empowering move, Lohan has taken to social media to share a glimpse of her postpartum journey, leaving fans in awe and sparking conversations about body positivity.
Preview photo credit Mean Girls / Paramount Pictures and co-producers, rajivsurendra / Instagram, Mean Girls / Paramount Pictures and co-producers, Fati Sadou / ABACAPRESS.COM / Abaca / East News

Leave a Reply